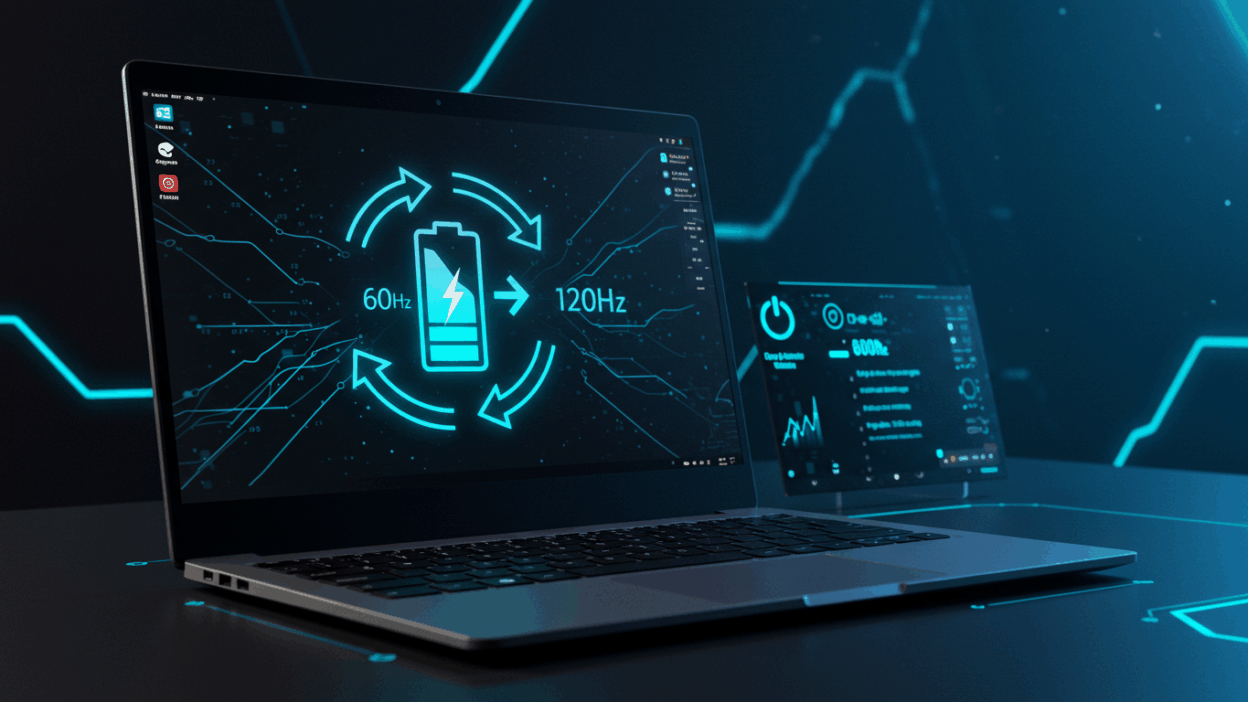
How to Enable Dynamic Refresh Rate on Windows 11 to Save Battery on Laptops. A Complete Guide on How to Enable/Disable It and Other Battery-Saving Tips.
Enabling Dynamic Refresh Rate on Windows 11 to save battery on laptops is a useful trick that not everyone knows. This feature helps balance display performance and battery life by automatically adjusting the screen’s refresh rate based on the task you’re performing. In this article, you’ll find a detailed guide on how to enable or disable Dynamic Refresh Rate on Windows 11, along with some additional battery-saving tips.
What Is Screen Refresh Rate?

The screen refresh rate is the number of times an image is refreshed per second. A higher refresh rate makes on-screen motion smoother, which is especially useful for activities like gaming or watching videos. However, the downside of a high refresh rate is that it consumes more energy, which can reduce your laptop’s battery life.
What Is Dynamic Refresh Rate?

Windows 11 offers the Dynamic Refresh Rate (DRR) feature that balances display performance with power savings. DRR automatically adjusts your screen’s refresh rate depending on the task you’re performing.
For example, when reading text or browsing the web, DRR lowers the refresh rate (e.g., 60Hz) to save battery. Conversely, when gaming or watching videos that require smooth motion, DRR increases the refresh rate (e.g., 120Hz) for the best experience.
Which Devices Support Dynamic Refresh Rate?
To use DRR, your device needs to meet the following requirements:
- Display with VRR (Variable Refresh Rate) support: VRR allows the screen to flexibly change its refresh rate according to the displayed content.
- Minimum refresh rate of 120Hz: DRR works best on displays that support refresh rates higher than 60Hz.
- Graphics card supporting WDDM 3.0 or higher: WDDM (Windows Display Driver Model) is the Windows display driver framework. You can check your WDDM version by running the DirectX Diagnostic Tool (DXDiag).
How to Enable/Disable Dynamic Refresh Rate on Windows 11
Note: The steps may vary slightly depending on your Windows 11 version (23H2 or 24H2 and later).
Steps to Enable Dynamic Refresh Rate
Step1: Open Settings and go to System.
Step2: Select Display and then click Advanced display.

Step3: If you have multiple monitors, select the monitor you want to adjust.
- For Windows 11 23H2: Under Choose a refresh rate, select Dynamic.

- For Windows 11 24H2: Toggle on Dynamic refresh rate.

Once these steps are completed, your computer will automatically adjust the screen refresh rate to save energy.
Note: If your device doesn’t support this feature, the option under Choose a refresh rate may be missing or disabled.
Steps to Disable Dynamic Refresh Rate
Follow the same steps as enabling DRR.
- For Windows 11 23H2: Under Choose a refresh rate, select your desired fixed refresh rate (e.g., 60Hz, 120Hz).
- For Windows 11 24H2: Toggle off Dynamic refresh rate.

After completing these steps, Windows 11 will stop automatically adjusting the refresh rate.
Additional Battery-Saving Tips on Windows 11
In addition to using DRR, you can apply the following tips to further save battery life on your laptop:
- Enable Battery Saver or Energy Saver mode (depending on your Windows 11 version).
- Choose an appropriate Power Mode under the Battery or Power & battery settings.
- Lower your screen brightness.
- Close unnecessary background apps.
- Turn off Bluetooth and Wi-Fi when not in use.
By combining DRR with these battery-saving strategies, you can significantly extend your Windows 11 laptop’s battery life.
Conclusion
With these detailed instructions, you should now be able to easily enable or disable the Dynamic Refresh Rate feature and apply additional battery-saving tips to extend your Windows 11 laptop’s usage time. For more helpful tech tutorials, visit Gif How and explore step-by-step visual guides.


